Showing posts with label chicken. Show all posts

Tuesday, June 21, 2011

Baked Buffalo Chicken Pasta


I know I said that I don't cook a whole lot during the summer, but sometimes you've just got to. Especially when you notice that your fiance has been eating cold cereal for dinner more often then not. We've been very busy, and most weeknights get home so late that there isn't much time to fuss with dinner. Still, I'm a big believer in lots of vegetables and protein, and don't think that cereal really satisfies either of those categories. I'm also pretty old fashioned when it comes to cooking for my man. We may both be the breadwinners, but it is very satisfying to serve a healthy home cooked meal to Pat when he comes home from work- good for the body and the heart! All that being said, this home cooked meal did not contain any vegetables, and it isn't the healthiest of meals, but Pat loves buffalo chicken. I'd say a bowl of cheesy buffalo chicken pasta trumps a bowl of cereal.

This recipe is fairly quick to prepare, and its one of those dishes that tastes even better the second day when the flavors have really come together.

Preheat oven to 375 degrees. Prepare water for pasta and cook according to directions.

While pasta is cooking, heat a medium saucepan over medium heat. Add the butter, and once it’s melted and bubbly add the flour. Whisk together to create a roux and cook for 1-2 minutes until mixture gets a bit golden in color. 

Roux - French for "red" - it is a thickener for sauces and soups that uses equal parts flour and butter. For more information, check this out.


Add milk, stir and turn down heat to low. Continue stirring until milk thickens. 


Add in grated cheeses and continue to stir until mixture is smooth. 


Stir in buffalo wing sauce. Taste and season with salt and pepper if needed (I added some fresh ground pepper but no salt).


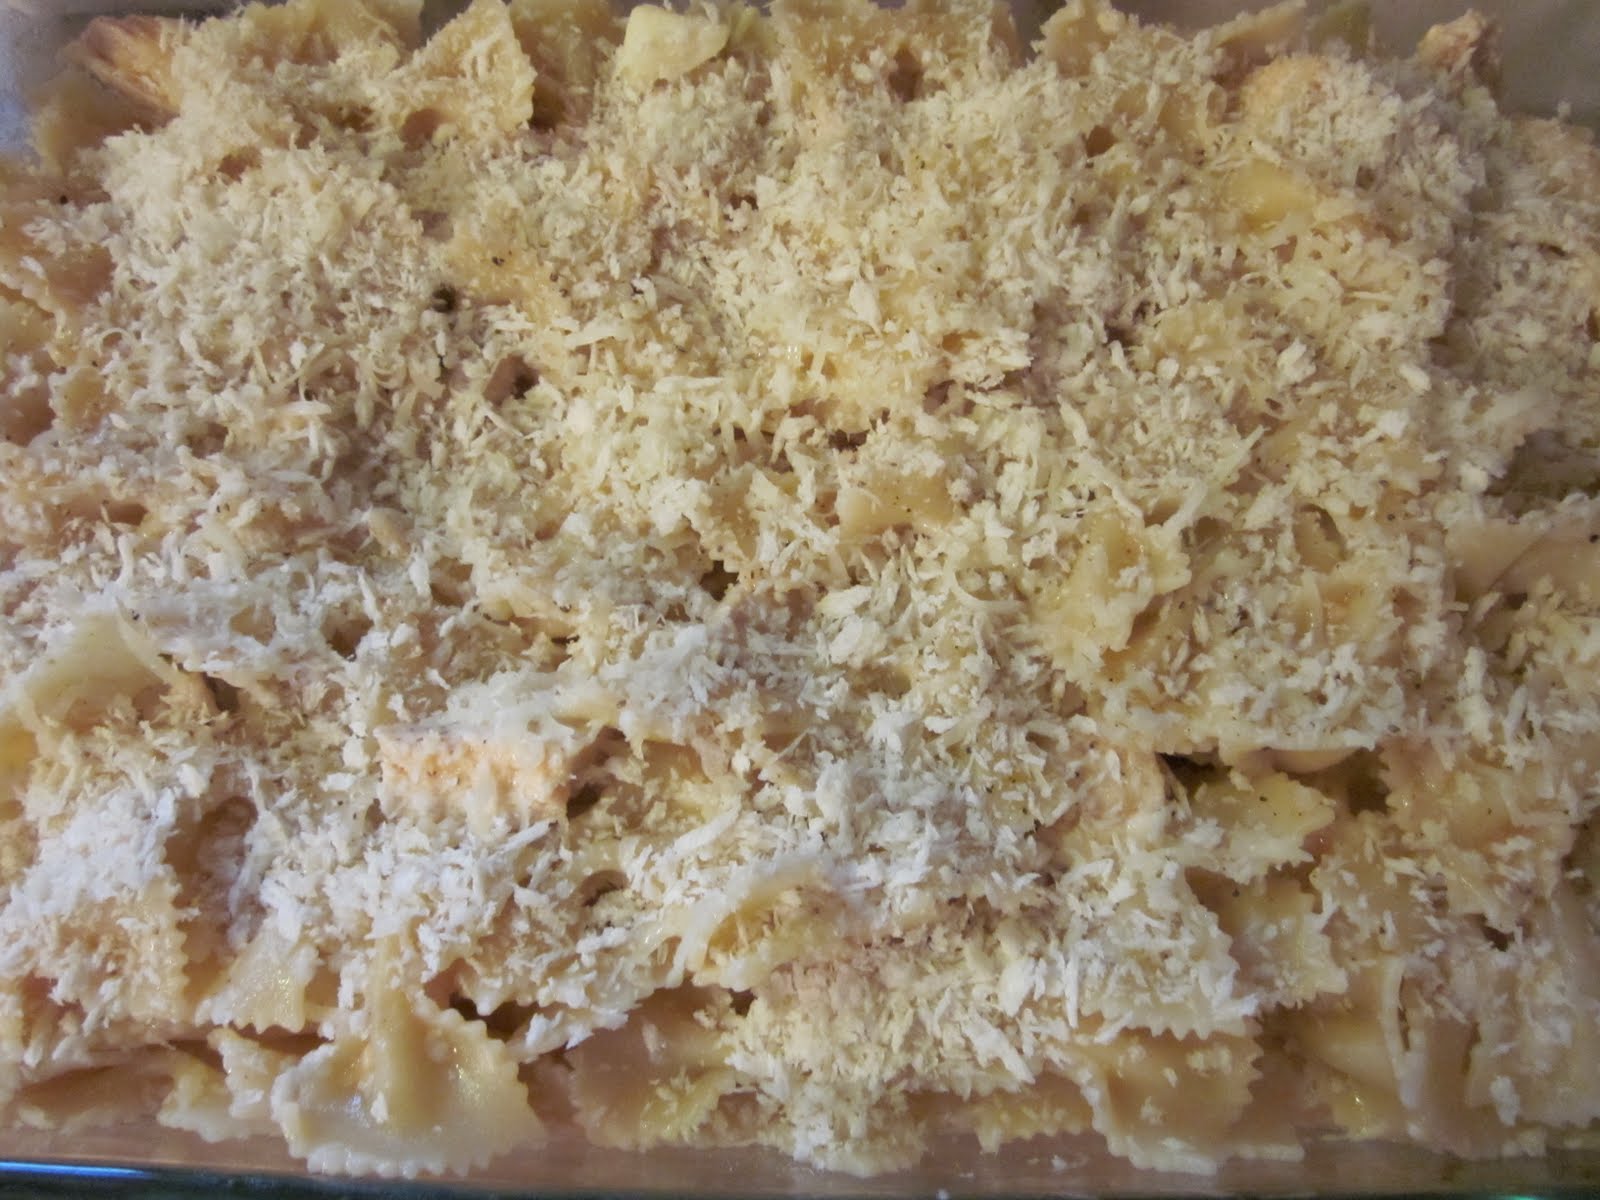
Spray a baking dish with cooking spray. Add pasta and chicken, then pour cheese sauce over and mix thoroughly until everything is coated. 


Sprinkle with additional grated cheese and bread crumbs. 


Bake for 25 minutes or until cheese is golden brown. Remove from oven and top with blue cheese crumbles and drizzle with buffalo wing sauce.


Baked Buffalo Chicken Pasta
Recipe adapted from How Sweet It Is.

Ingredients
  • 1 pound pasta (I used bow ties)
  • About 1 1/2 pounds boneless, skinless chicken breasts, cooked and cut into bite-sized pieces
  • 1 tbsp butter
  • 1 tbsp flour
  • 1 1/2 cups milk
  • 4 ounces Monterrey jack cheese shredded, plus extra for topping
  • 1/2 cup sharp cheddar cheese, plus extra for topping
  • 1/3 cup buffalo wing sauce, plus extra for topping
  • 1/2 cup panko bread crumbs
  • 1/2 cup blue cheese crumbles (for garnish)
Directions
  1. Preheat oven to 375 degrees. Prepare water for pasta and cook according to directions.
  2. While pasta is cooking, heat a medium saucepan over medium heat. Add the butter, and once it’s melted and bubbly add the flour. Whisk together to create a roux and cook for 1-2 minutes until mixture gets a bit golden in color. 
  3. Add milk, stir and turn down heat to low. Continue stirring until milk thickens. 
  4. Add in grated cheeses and continue to stir until mixture is smooth. 
  5. Stir in buffalo wing sauce. Taste and season with salt and pepper if needed.
  6. Spray a baking dish with cooking spray. Add pasta and chicken, then pour cheese sauce over and mix thoroughly until everything is coated. Sprinkle with additional grated cheese and bread crumbs.
  7. Bake for 25 minutes or until cheese is golden brown. Remove from oven and top with blue cheese crumbles and drizzle with buffalo wing sauce.
*Note - I left this dish in the oven at a low heat after it was done baking to keep it warm until Pat got home. The top layer of pasta got a little crispier than I wanted, so I would advise covering in tin foil if you need to keep this warm so it doesn't dry out.


This dish was spicy! I ate mine with a large glass of milk to put out the fires in my mouth. Pat didn't have a problem with the heat (his tolerance is higher than mine) and really enjoyed the meal! As I mentioned, this keeps really well, and we had leftovers for a couple days. Hopefully this will hold him over until I can find some time to cook again!

Thursday, May 5, 2011

Quesadillas and Homemade Tortillas

'Twas the night before Cinqo de Mayo, and all through the house...

So last night was Cinqo de Mayo Eve, and I was really craving some Mexican food. Personally, I think this holiday should be celebrated for a full week. Or maybe once a month. Thoughts? Anyhow, I had all of the ingredients to make some quesadillas (grilled chicken, bell peppers, onions, cheese, salsa, sour cream)...EXCEPT for the tortillas. It was pouring out, and I'll already made the trek to get some amazing bread and go to the gym, so I really didn't feel like going out again. And then I remembered something! Jim's lovely girlfriend Kristi gave me her family's recipe for homemade tortillas a couple months ago. I'd been carrying it around in my wallet, but hadn't made them yet. No time like the present, right?

I was relieved to see that I had all of the ingredients the recipe called for.


Heat a cast iron skillet over medium heat (don't add any oil).

Whisk together the flour, salt and baking soda. Then add the shortening and warm water.


Mix well (I used my hands) until a dough forms. Add a little extra warm water if necessary.


Separate the dough into small balls and roll out into circles with a rolling pin. I sprayed the rolling pin with cooking spray before rolling out the first ball and then didn't use any more after that (I probably didn't even need to do this at all).


Once your pan is heated, place a tortilla in it and cook until done (about 1 1/2 minutes) then flip and cook until done on the other side (less than a minute). Repeat with all of your tortillas!


I only made a quarter recipe because I didn't know how they'd come out. I immediately wished that I'd made more - fresh tortillas taste so much better than store bought!

Kristi's Tortillas
Serves 8-12

Ingredients

  • 4 cups flour
  • 2 tsp salt
  • 2 tsp baking powder
  • 4 tbsp shortening
  • 1-1 1/2 cups warm water

Directions
  1. Heat a cast iron skillet (or flat pan) oven medium heat.
  2. Combine flour, salt and baking powder in a large bowl. Whisk together. Add shortening and warm water and mix well with hands until dough forms.
  3. Separate dough into small balls and roll into circles with rolling pin.
  4. Put tortilla on pan until cooked on one side (about 1 1/2 minutes) then flip and cook on other side (less than one minute). Repeat until all of your tortillas are cooked!
And then I got to making my quesadillas...you guys know the drill.

Saute your fillings (I chose multi-colored bell peppers, onions and chicken).


Put tortilla on skillet (still heated over medium) and load up with cheese first and then fillings (I didn't have shredded cheese but I did have Cabot extra sharp cheddar which is my favorite).


Cook until cheese is melted, fold in half and cook briefly on other side.


And there you have it - a quesadilla on homemade tortilla!


Pile with any other toppings you like - salsa, sour cream, hot sauce, etc, and enjoy!

I made one for myself and one for Pat. When Pat took his first bite a big smile spread across his face (this is when I know I've done well). He said it was so good that it didn't even need salsa, and he's a self-proclaimed toppings fiend!

Happy Cinqo de Mayo!!

Friday, April 22, 2011

Spinach and Goat Cheese Stuffed Chicken Breasts


Its been a while since I've made chicken. Not sure why, I just haven't made it in a while. I came across this recipe in the April issue of Cooking Light and it looked like the perfect meal that could be prepared quickly but would satisfy my craving for a hearty, home-cooked dinner.

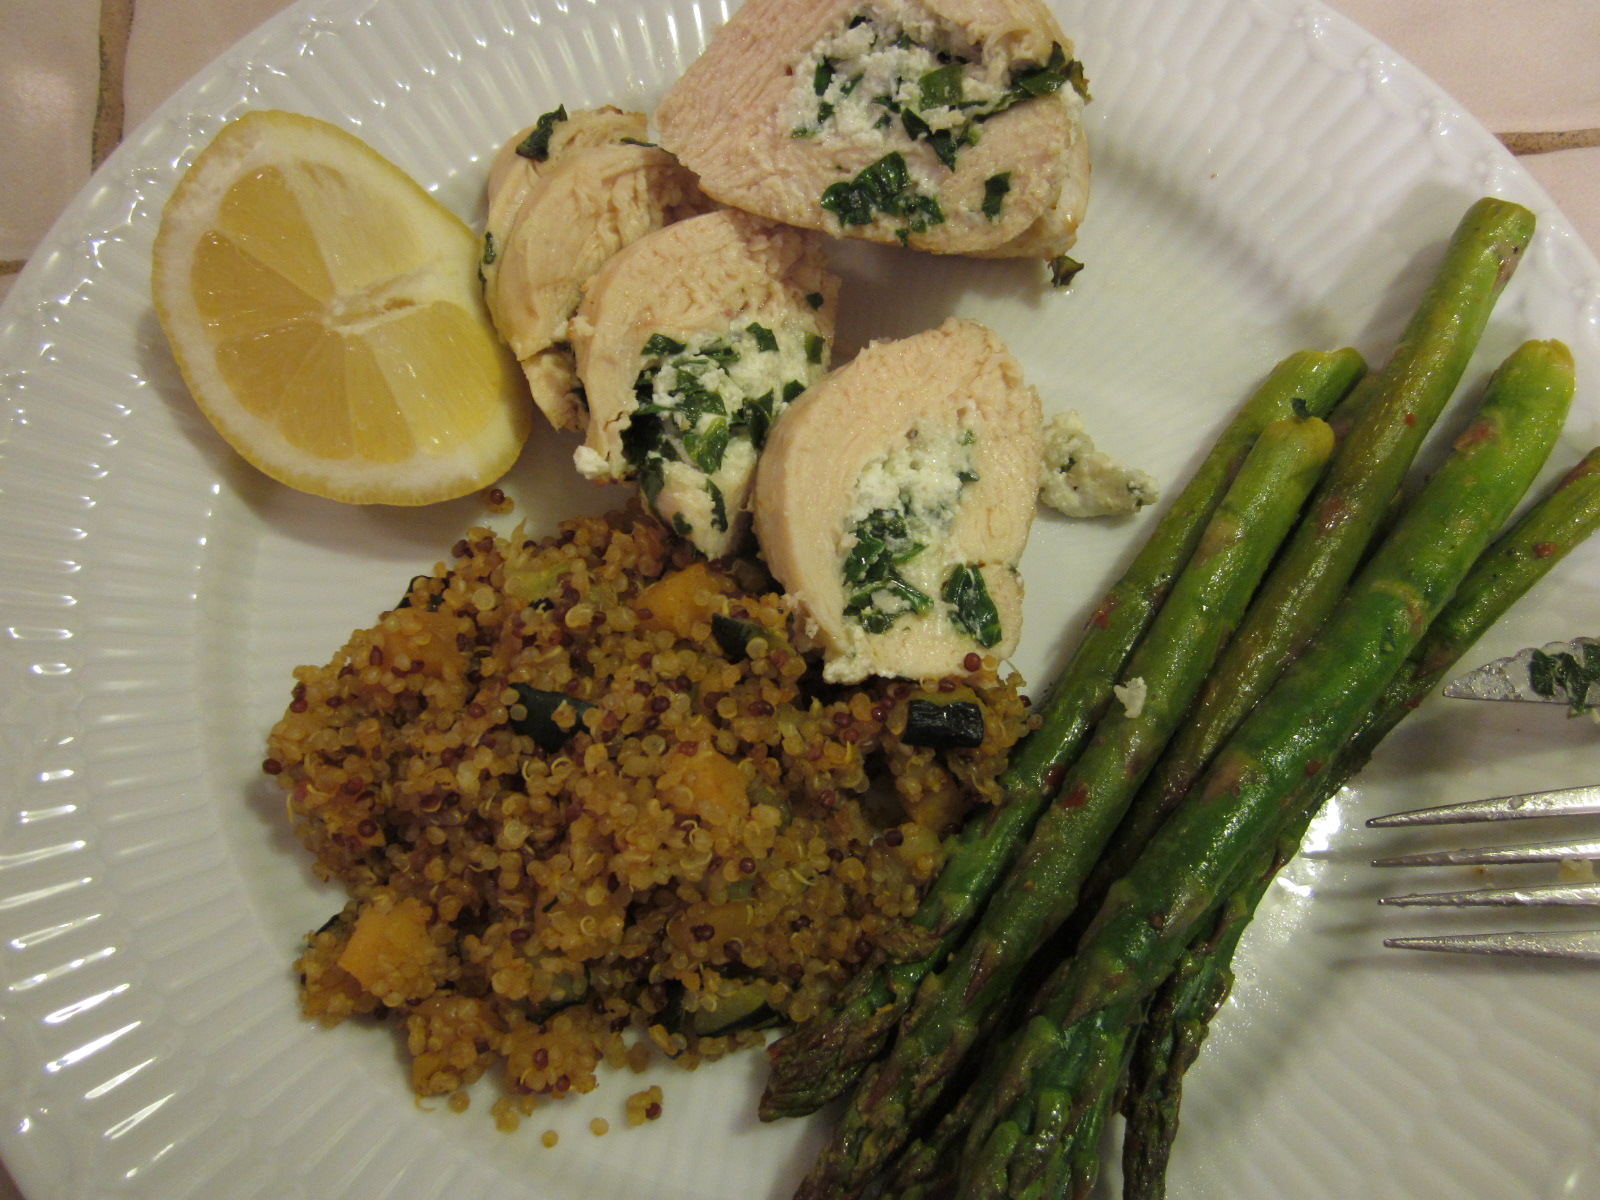
Instead of using mint and parsley like the recipe calls for, I used spinach, since there's always a surplus of spinach in my fridge. I served the chicken with a side of sauteed asparagus and some quinoa from Trader Joe's (this was actually my first experience with quinoa, I'm a little late on the quinoa train, and I loved it!).

Asparagus
This is a favorite summer recipe for the grill (but works just as well when sauteed). Wash and trim asparagus (its actually easier to just snap off the ends of the stalks with your fingers instead of trimming with a knife) and place in a large Ziploc bag or a bowl. Add the following for your marinade:
  • 1 tsp olive oil
  • juice of 1/2 lemon
  • red pepper flakes
  • garlic powder (or minced garlic)
  • salt and pepper
The amounts you use are up to you - I like this with a kick, so I added a lot of red pepper flakes.


Put the asparagus in the fridge for at least 30 minutes (or up to a few hours) to absorb the flavors. When ready to cook, heat a skillet over medium heat and add asparagus (no need to use extra oil in the skillet since there's already some in the marinade). Saute for 5-10 minutes, until it reaches the tenderness you prefer.


Quinoa

This is the Trader Joe's quinoa I bought - comes frozen in a bag and has sweet potatoes and zucchini in it. You can heat on stove or in microwave. I was going to doctor it up a bit by adding some dried cranberries and spices, but decided not to. This was really good just as is, and would also be good if you added extra vegetables or spices.


Spinach and Goat Cheese Stuffed Chicken Breasts

Preheat your broiler to 450 degrees.

Mix panko, spinach, and pepper in a bowl, mashing with fork to combine.


Cut a horizontal slit through the thickest portion of each breast to form a pocket.


Stuff as much filling as you can into each pocket, then close with a toothpick. Sprinkle chicken with salt.


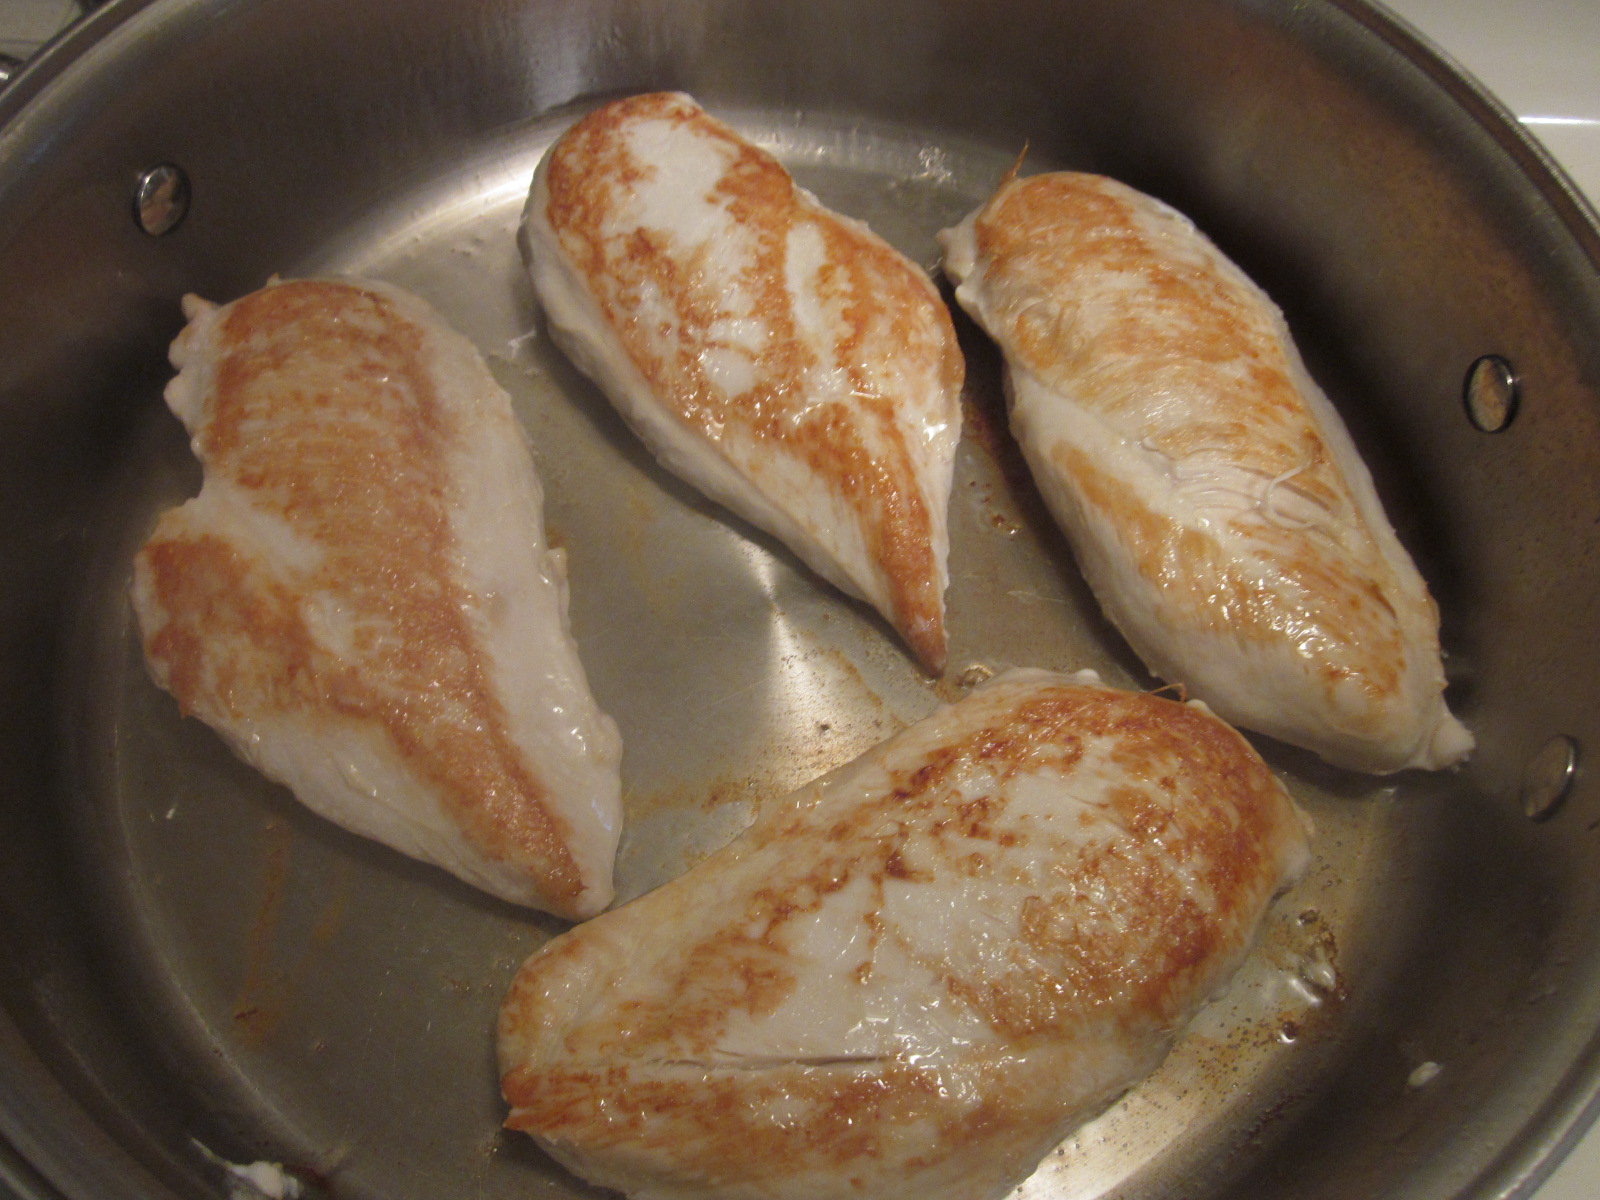
Heat a large skillet over medium heat and add 1 tbsp olive oil to pan. Add chicken to pan and cook for about two minutes (on one side) until browned.  


Move chicken to an oven pan or cookie sheet, brown side down. Broil for 10-15 minutes or until done.


Recipe
Serves 3-4.
Adapted from Cooking Light.

Ingredients
  • 1/4 cup panko breadcrumbs
  • 1-2 handfuls baby spinach, chopped into small pieces
  • 4 ounces goat cheese
  • 4 (6 ounce) boneless skinless chicken breasts (I only made 3, but the stuffing makes enough for about 5-6 pieces of chicken)
  • 1 tbsp olive oil
  • salt and pepper
  • lemon wedges (optional)
Directions
  1. Preheat your broiler to 450 degrees.
  2. Mix panko, spinach, and pepper in a bowl, mashing with fork to combine.
  3. Cut a horizontal slit through the thickest portion of each breast to form a pocket.
  4. Stuff as much filling as you can into each pocket, then close with a toothpick. Sprinkle chicken with salt.
  5. Heat a large skillet over medium heat and add 1 tbsp olive oil to pan. Add chicken to pan and cook for about two minutes (on one side) until browned.
  6. Move chicken to an oven pan or cookie sheet, brown side down. Broil for 10-15 minutes or until done. Squeeze fresh lemon on top to serve (if desired).

This whole meal was really delicious. I have a new found love for quinoa, and guess who else does as well? Pat! I didn't tell him how good it was for him until after he tasted it, I didn't want that to taint his judgment (I think in his mind he assumes healthy grains=cardboard taste). The chicken was really good - very moist. I love goat cheese and the combination of goat cheese and spinach (with  a squeeze of lemon) was great, although the flavor didn't really jump out at you. I had considered adding other spices to the filling but didn't because of the marinade I used for the asparagus (I didn't want it to be flavor overload). If I made this chicken again with subtler vegetables, I'd trying adding some/all of the following to the chicken stuffing: roasted garlic, red pepper flakes, artichoke hearts, rosemary and thyme, caramelized onions. I'm sure there's lots of great things that could go in these! Pat was very happy for a home cooked meal (that didn't involve tofu) and I really enjoyed it, too.

Tuesday, March 1, 2011

BBQ Pulled Chicken and a Good Southern Love Story to Boot!


I think crock pots are one of the best inventions ever. I was so excited to throw all of my ingredients into my crock pot before work yesterday morning, knowing that I'd come home to a delicious dinner, ready at my arrival. 

I browned my chicken breasts in a large skillet with olive oil.


I mixed up all of the ingredients for an amazing BBQ sauce and added it to the crock pot.


I thought about my pulled chicken during the day. It was exactly what I was in the mood for and I couldn't wait to go home and eat it.

As I left work, I got a call from Pat. "Bad news," he said "I think your chicken burned." Burned?! My chicken?! I was so disappointed. I told him to turn off the crock pot and leave it there for me until I got home. Let me tell you, the sight I came home to wasn't pretty.


If I just worked an eight hour day, the crock pot would be a miracle chef. Unfortunately, I work at least eight hours a day, and drive at least an hour each way (depending on traffic). So 10+ hours is a little bit too long to leave a meal unattended.

I figured that I should at least try to salvage the chicken. I stuck a fork into a piece of chicken and instantly it shredded, revealing tender meat.


I shredded all of the chicken, removing a couple pieces that looked dry (but only a handful - for the color of the crock pot you would have thought the meat was scorched, but it wasn't!), sampling as I went. Tangy, spicy, delicious!


My meal was not ruined, not in the slightest. I steamed some broccoli and had a down-home BBQ pulled chicken dinner, accompanied by some light lemonade from Trader Joe's (seemed fitting).


Crock Pot BBQ Pulled Chicken
Based on Jenna's recipe
Serves 6-8

Ingredients
  • 2 1/4 pounds boneless, skinless chicken breasts 
  • 1 1/2 tbsp olive oil
  • 1 1/2 cups ketchup
  • 1/3 cup packed dark brown sugar
  • 1 1/2 tbsp Worcestershire sauce
  • 1 1/2 tbsp apple cider vinegar
  • 1 1/2 tbsp yellow mustard
  • 1 1/2 tsp cayenne pepper
  • 1/2 tsp garlic powder
  • 1/4 tsp salt

Directions
  1. Rinse chicken and trim fat. Brown for four minutes on each side in hot olive oil in a large skillet heated to medium-high. Remove from pan and place in crock pot.
  2. Combine all ingredients (besides chicken and olive oil). Whisk together and pour over chicken.
  3. Cover and cook on high for one hour. Reduce heat to low and cook for an additional five to six hours (not eight!).
  4. Shred chicken with fork(s), then mix into sauce so sauce is evenly distributed. Serve on fresh rolls, with cornbread and beans, on pizza - whatever you like!

After dinner I relaxed on the couch and delved deeper into my new book: The Pioneer Woman: Black Heels to Tractor Wheels.


I don't normally enjoy romance novels. Okay, that's a lie. Every now and then I like some romance, although the over-the-top gushy ones don't appeal to me. I like this book because its not over-the-top, its a true story, and I think that genuine love can be felt in Ree's words. I've also always thought that I belonged on a ranch in the Midwest, so that aspect of the book hooked me, too.

I have a confession. Both my meal and this book were inspired by Jenna. I love reading her blog because she's constantly posting incredible creations from her kitchen, all of which are photographed beautifully. If you're using one of her recipes, chances are that it'll be a big success. A couple weeks ago she wrote about some of the books she's loving now, and this was one of them.

While we're on the subject of love - take a look at my roses! Pat bought them for me on Valentine's Day (2 weeks ago!) and they still look perfect!